
How to Set Up the myCadillac App and Connect Your Vehicle in Minutes
August 18 2026,
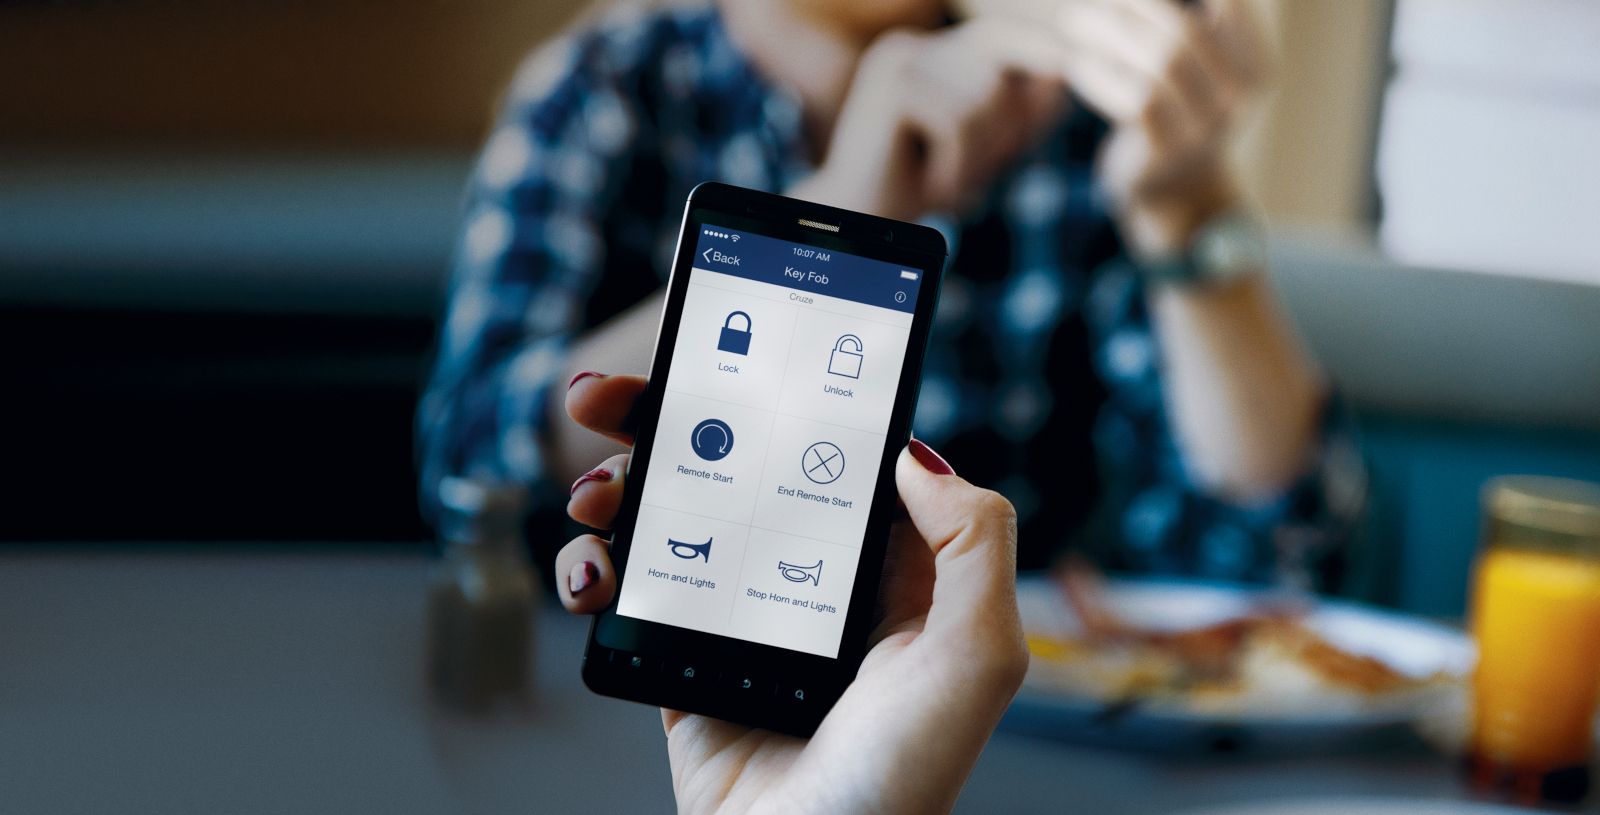
Getting a new Cadillac is exciting, but the first time you open the myCadillac app, the screens can feel like a lot. If you’re in Quebec and just picked up your vehicle, this guide walks through the setup from download to your first remote command.
What The Myc Adillac App Does
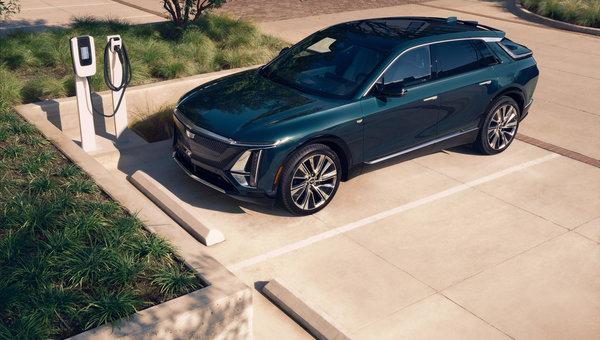
The myCadillac app lets you interact with your vehicle from your smartphone. On properly equipped vehicles, you can remote start, lock and unlock your doors, check fuel life or EV range, and view tire pressure, among other tasks.
The app applies to compatible Cadillac vehicles from model year 2010 onward, excluding the MY18 CT6 and CT6 Electric. Which features you see depends on your specific vehicle, your device, and the service plan you’re enrolled in, so two owners with different trims may see different Home screens.
Getting The App On Your Phone
Setup takes about five minutes and needs no special tools, just a compatible smartphone. Download myCadillac from the Apple App Store or Google Play. If you already have the app, search “myCadillac” in your store to check for updates, since staying current avoids many of the glitches owners run into later.
No access to an app store search bar handy? You can text “Cadillac” to 56000 and receive a download link by reply.
If your household has more than one GM-brand vehicle, such as a Buick or GMC alongside your Cadillac, you don’t need a separate app for each. Downloading any one of myCadillac, myBuick, myChevrolet, or myGMC lets you manage every vehicle on your account through the Account menu’s product selector.
Creating Your Account And Signing In
This is the step where most setup problems start, and it comes down to one detail: email address. Use the same email you gave your dealer when you bought the vehicle, or the one you gave your Advisor during your Welcome Call.
If you already have a sign-in for OnStar or another GM account (cadillaccanada.ca, or the OnStar Guardian app), use that same login rather than creating a new one. Signing in with an OnStar-linked account lets your vehicle sync properly and unlocks subscription-based features. A mismatched email is the single most common reason a vehicle won’t link to the app.
New users, and anyone who just updated the app, will see a multi-factor identity verification step before getting in. This is expected and only takes a moment.
Adding Your Vehicle After Sign-In
Once you’re signed in, adding a vehicle follows a short path: tap the Account icon (your initials, top right), select Add Product, then Add Vehicle. From there you’ll enter your VIN and a few vehicle details, then tap Done.
The VIN step is just confirming which specific vehicle belongs to your account, no different from giving your licence plate to a parking attendant. If the process doesn’t complete, three things are usually the cause:
- The email on your account doesn’t match what your dealer has on file
- The vehicle hasn’t been activated yet
- The vehicle is already linked to a different account
Any of these will need an OnStar Advisor’s help to sort out rather than another attempt through the app.
Finding Your Way Around The Home Screen

Once your vehicle is linked, the Home screen becomes your main hub. Tap your initials in the top right to reach the Account menu, where you can also switch between vehicles if you have more than one connected.
|
Tab |
What it’s for |
|
My Vehicle |
Essential remote commands plus quick-view widgets like Vehicle Status and EV Charge Status |
|
Controls |
Additional remote commands and customizable vehicle settings |
|
Help Centre |
Owner’s Manual, support resources, and a direct line to OnStar |
The Vehicle Status screen (under My Vehicle) shows a snapshot of your car’s current condition, along with a timestamp so you know how fresh the data is. Which details show up there, tire pressure, fuel life, or charge status for EVs, again depends on your equipment and service plan.
Sending Your First Remote Command
Remote commands like start, lock, and unlock live on the My Vehicle tab of the Home screen. Less common commands, such as sounding the alarm or flashing the lights, sit under the Controls tab. Not every vehicle shows every option, since availability depends on how your Cadillac is equipped and what your active service plan covers.
If a command fails, a few quick checks solve most cases: confirm the engine is off before trying remote start, check that your key fob has good battery life, and make sure both your phone and vehicle have a stable internet connection. An outdated app version can also block commands, so double-check for updates first.
If your vehicle doesn’t show up in the app at all, it almost always traces back to the email address used at sign-in, an account that was never linked, or recent changes to your OnStar plan that haven’t synced yet. Logging out and back in resolves some of these on the spot.
When To Call In Extra Help
Self-service steps handle most setup snags, but not all of them. The app’s Help Centre gives you access to your Owner’s Manual and other support material any time you need a refresher.
When linking issues or failed commands persist after you’ve tried the basics, an OnStar Advisor can look at your account directly and fix what the app can’t resolve on its own.
Getting Comfortable With Your Cadillac App
Once your vehicle is linked, your email is confirmed, and you’ve sent a first remote command successfully, your setup is done. From here, checking on your Cadillac becomes part of your daily routine rather than a task.
Visit Le Relais Cadillac in Montréal if you’d like a hand getting your myCadillac app connected during your next visit, or reach out with any setup questions before you drive off the lot.